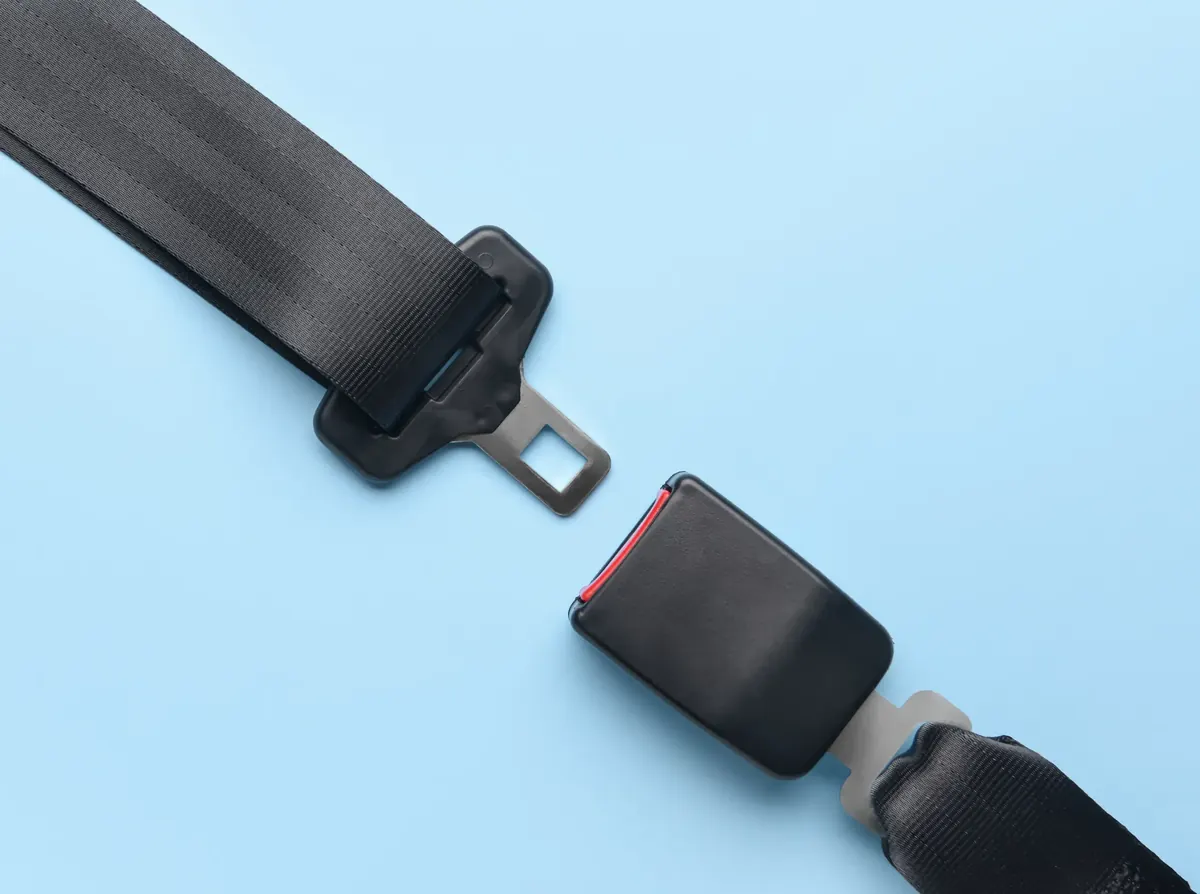
Choosing a Replacement Seat Belt: Important Considerations
Replacement is a matching problem, and matching problems are solved with evidence. Resemblance is not correspondence — and a part that goes together is not necessarily a part that belongs together.
Start with an inspection
The first step in choosing a replacement is not choosing anything. It is establishing what actually needs replacing, which means having the assembly examined by a qualified automotive technician.
The reason is practical as well as safety-related. Webbing damage, a retraction fault and a buckle problem can all present as “the belt is not right” from the driver’s seat. Ordering on that basis is how people end up ordering twice.
Decide the scope
Once you know what has failed, decide what is being replaced. Three options, in increasing order of complication:
- The complete assembly. Everything new corresponds to everything else new. Only the position has to be matched.
- The webbing side only. Has to match the position and the buckle staying in service.
- The buckle side only. Has to match the position and the latch plate staying in service.
A question worth asking yourself
If the half that is staying has the same service history as the half that failed, is replacing one half actually the outcome you want? A technician who has inspected the assembly is the right person to advise — but it is worth raising rather than assuming.
Confirm position and handing
State the seating position and which side of the cabin it is on. Assemblies are handed: upper anchorage position, buckle stalk orientation and webbing exit direction all mirror between left and right. A mirrored unit will not install correctly however similar it looks in a photograph.
Also state how many positions are involved. One rear outboard position and “both rear outboards” are different orders, and the second one is two handed assemblies rather than two of the same.
Record the mounting arrangement
How many anchorage points does the position use, where are they, and what hardware is at each? For a retractable assembly, where does the retractor housing mount and in what orientation?
Mounting is a compatibility factor in its own right. It is also the part most often left out of an enquiry, because it is behind trim and awkward to describe — which is exactly why the photographs matter.
Match the latch geometry
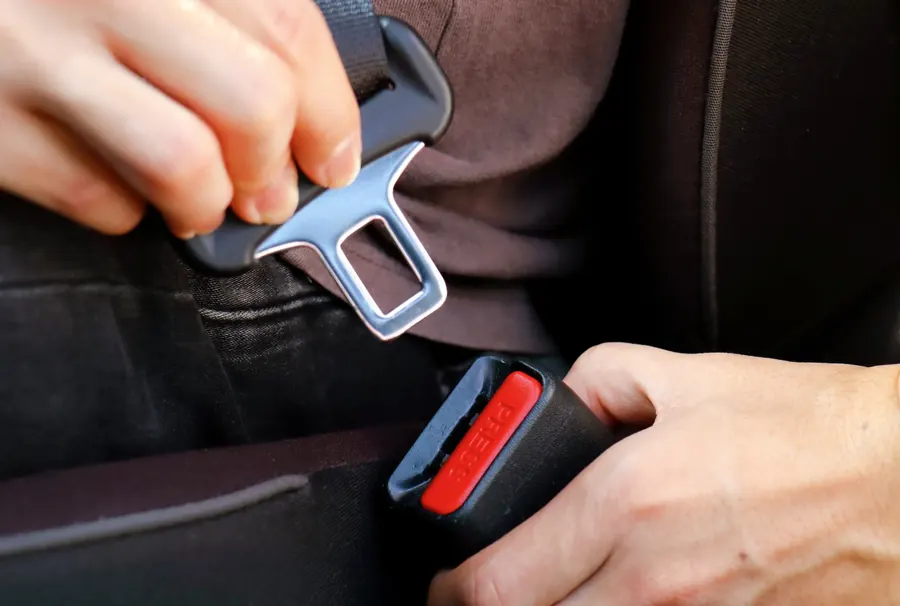
Where one half is staying, the latch plate and buckle have to correspond in three respects: the outline of the plate, its thickness, and the position of the slot the mechanism locks into. Webbing width matters too, across guides, adjusters and the latch plate.
None of those survive a written description. A photograph of the plate flat against a plain surface, and one of the buckle opening from the front, answer all of them at once.
Consider what stays
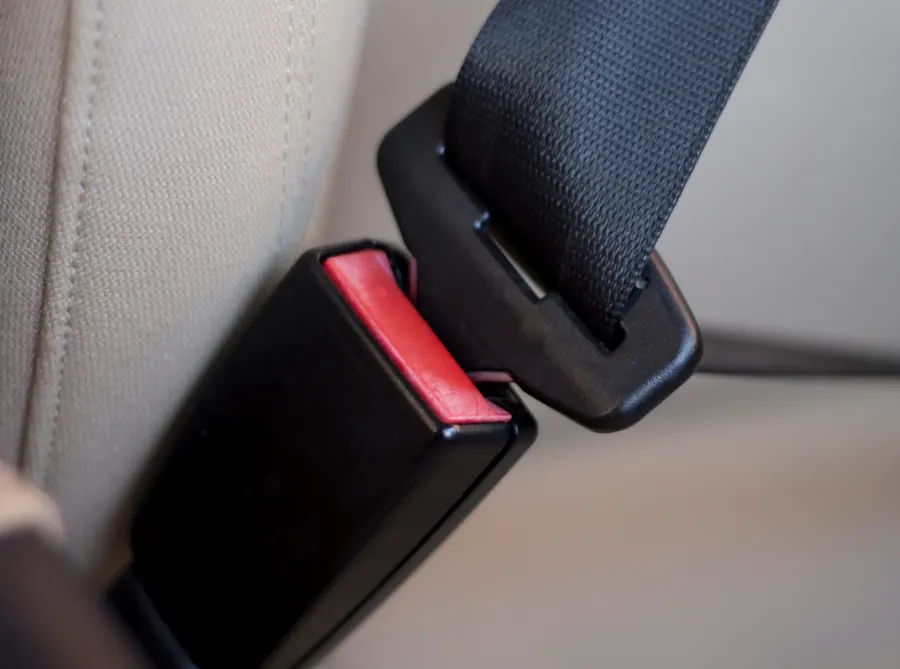
Anchorage hardware, mounting points, webbing guides and the opposite half of the assembly all remain after a replacement, and all affect the result. Corroded hardware, a cracked guide or a buckle whose engagement is already becoming vague will not be improved by a new belt fitted alongside them.
Ask whoever inspects the assembly to report on those too, so the job is specified once rather than revisited.
Take the five photographs
The photograph checklist
- The whole assembly in place at the position
- The latch plate, flat against a plain surface
- The buckle opening, straight on from the front
- Each mounting point, with its hardware visible — one image per anchorage
- Any part marking or label on webbing, housing or buckle, however faded
Daylight rather than flash, and close enough to read detail. Email them to info@autogleam.in.
Raise the enquiry
With the above in hand, an enquiry is short and complete: position, side, configuration, scope, quantity, photographs. Our enquiry form asks for exactly those fields, and the replacement solutions page sets out how we work through them.
What you will get back is what the available information supports — along with a clear note of anything that still needs checking at the vehicle. What you will not get is a fitment claim we cannot stand behind.
Install and verify
Installation, including anchorage hardware, belongs with a qualified automotive technician. Once fitted, the assembly should be checked through its full range: webbing drawn to full extension and returned, the latch engaged and released several times, and the whole run of webbing checked for correct routing with no twist.
Anything unsatisfactory in that check gets resolved before the vehicle returns to use. That is the last step, and it is not one to defer.