
Replacement Seat Belt Solutions
When an assembly is being replaced rather than newly installed, matching is the entire job. This page sets out the process we use and exactly what to send.
Five steps, in this order
Step one is not ordering a part. It is finding out what is actually wrong.
Have the assembly inspected
Before anything is ordered, a qualified automotive technician should establish what the problem is and what needs replacing. Webbing damage, retraction faults and buckle problems can look similar from the driver’s seat and are not the same issue.
A clear statement of which components need replacing at which position.
Define the scope
Whole assembly, webbing side only, or buckle side only. Scope changes what has to be matched: a full assembly is matched to the position, a single half is matched to the half staying in service as well.
A component list, not a product name.
Record the position
Which seating position, which side of the cabin, and which configuration. Handing is not something that can be resolved later, and a mirrored assembly will not install correctly.
Position, side and configuration stated explicitly.
Photograph everything
Five images, listed further down this page. This is where a replacement enquiry either becomes straightforward or turns into a long exchange of questions.
Visual evidence of geometry, mounting and condition.
Confirm, supply, verify at the vehicle
We confirm what is available against the requirement. Final fitment is verified at the vehicle, and installation — including anchorage hardware — is carried out by a qualified automotive technician.
An installed assembly that is correct for the position.
The five images that answer most questions
Daylight, no flash, close enough to read detail. Email them to info@autogleam.in after submitting the form.
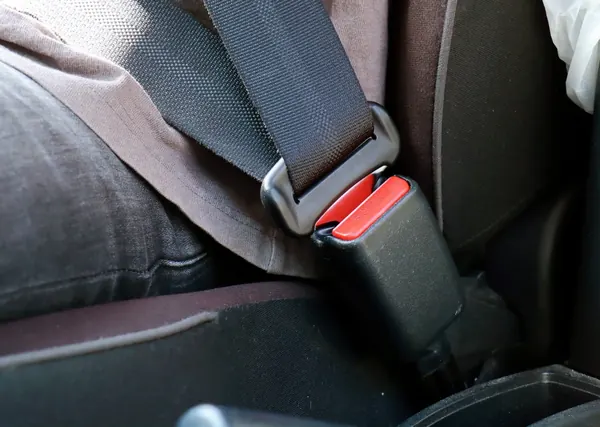
In place at the position, showing how the belt runs from its upper point down to the buckle.
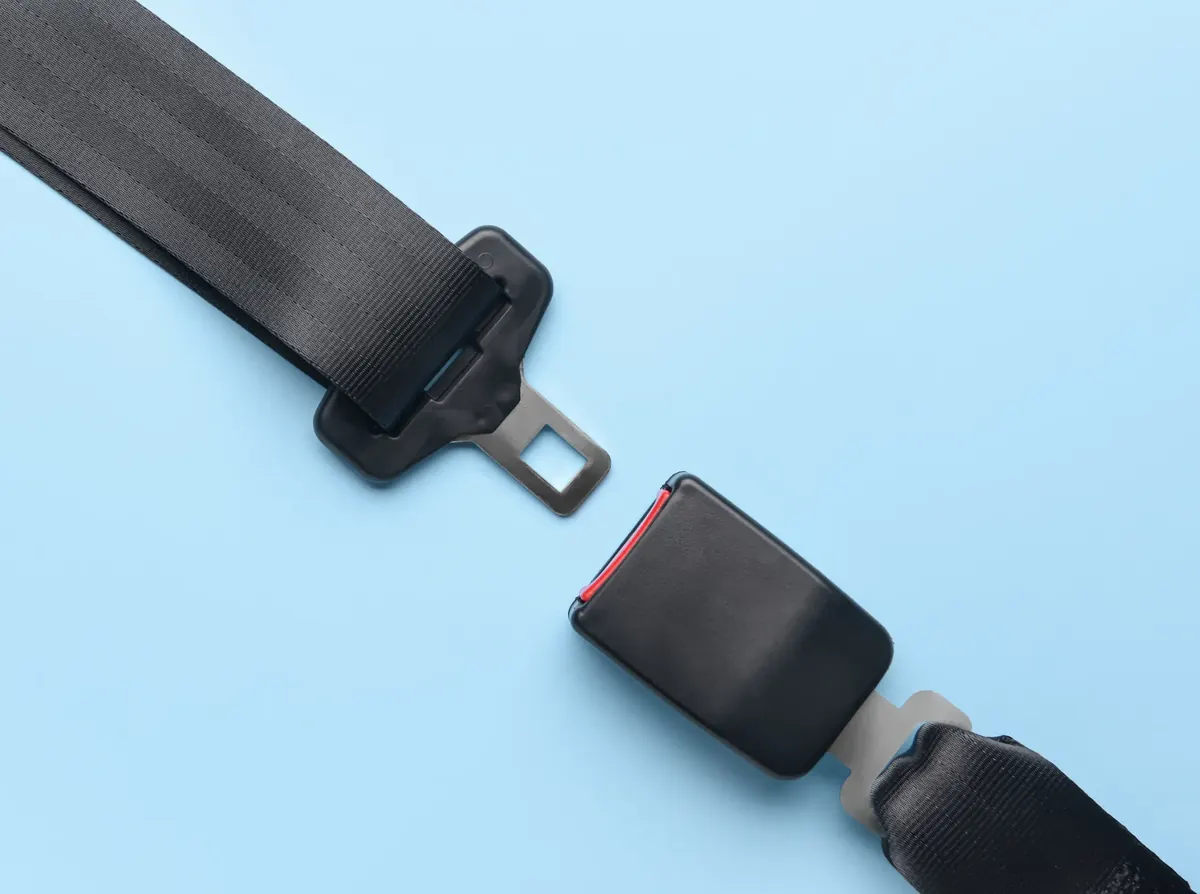
Flat against a plain surface, showing the outline, the slot and any guide moulding.
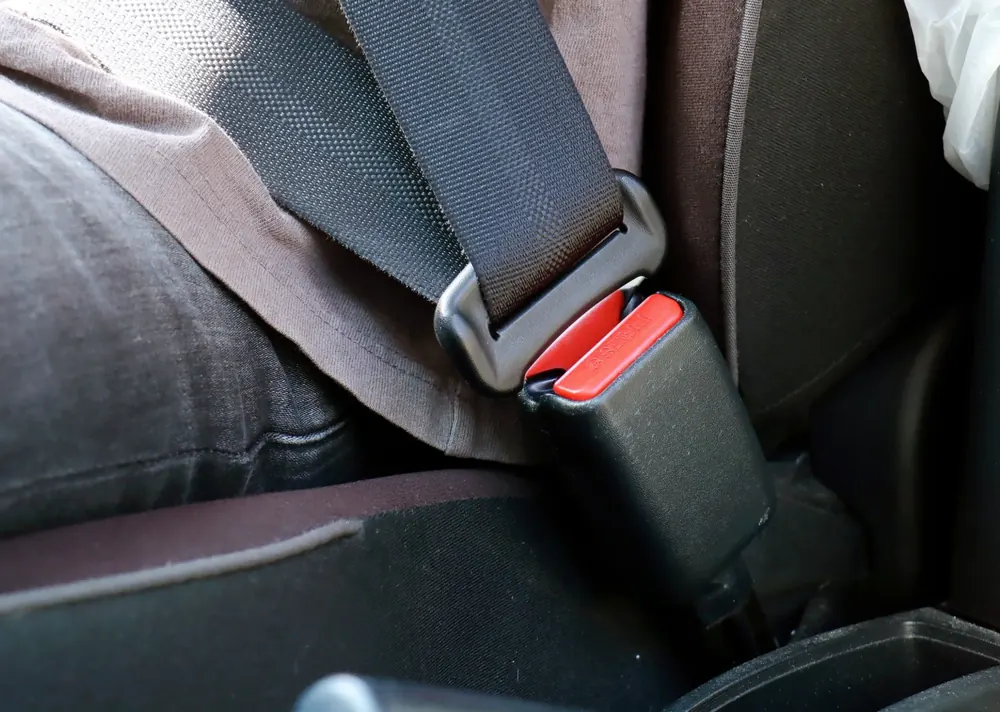
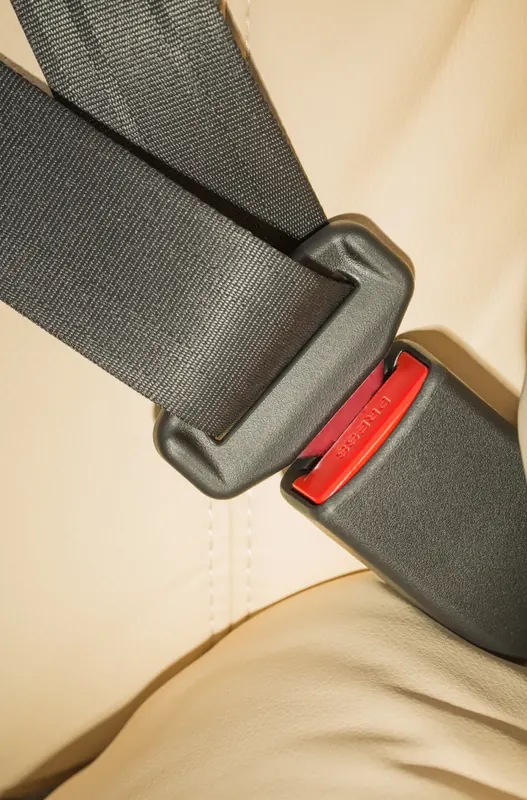
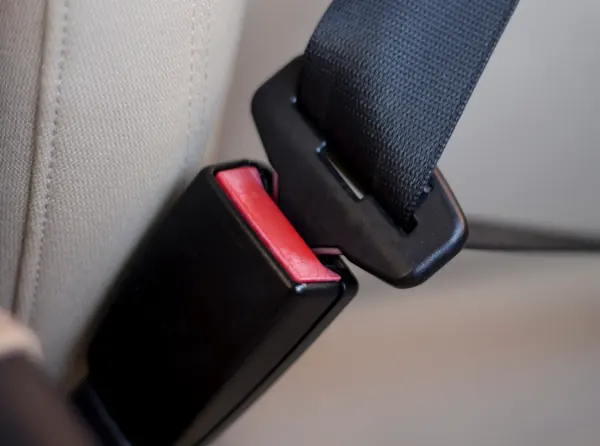
From the front, so the throat profile and release button are both visible.
With its hardware in view. One image per anchorage is better than one wide shot.
Labels or markings on the webbing, retractor housing or buckle, however faded.
Why photographs beat descriptions
A latch plate has a profile, a thickness and a slot in a particular place. Those three things decide whether it engages a given buckle, and none of them survive translation into a sentence. The same applies to mounting: an anchorage photograph shows the fixing type, the orientation and the surrounding structure at once.
One thing photographs cannot do
They cannot substitute for inspection. We can identify components from images; we cannot assess whether an assembly is fit to remain in service. That judgement belongs to a qualified automotive technician at the vehicle.
What gets matched
- ScopeWhole assembly, or one half plus the half staying in service
- ConfigurationThree-point, lap, retractable
- Position & handingWhich seat, which side
- MountingNumber, location and type of anchorage
- Latch geometryProfile, thickness, slot position
- Webbing widthAcross guides, adjusters and latch plate
- Condition of what remainsAnchorage hardware and the opposite half
What we can confirm
| Product category | Replacement seat belt assemblies and assembly halves |
|---|---|
| Matching method | Photographs plus stated position, side and configuration |
| Scope options | Complete assembly, webbing side, or buckle side |
| Dimensional data | Not published — confirmed on enquiry for your requirement |
| Vehicle fitment | Not published — confirmed on enquiry for your requirement |
| Condition assessment | Not carried out remotely — inspection by a qualified technician |
| Installation | By a qualified automotive technician; anchorages verified at the vehicle |
| Quantity | Single position or fleet quantities — state in your enquiry |
Replacement questions
Six questions, including the two we get asked to answer without seeing the vehicle.
Sometimes, and sometimes not. It depends on whether the remaining half is in serviceable condition and whether the two halves will correspond correctly. Send photographs of both and tell us which one you think needs replacing — we will say if replacing the pair is the sounder route.
Start with what a qualified automotive technician has told you after inspecting the assembly, then describe the position, the side and the configuration. If nobody has inspected it yet, that is the first step rather than the ordering.
Five: the whole assembly in place; the latch plate; the buckle opening; each mounting point with its hardware; and any part marking or label on the webbing or housing. Daylight, no flash, and close enough to read detail.
After any significant impact, a restraint system should be inspected by a qualified automotive technician, who will advise what needs replacing. That is a judgement to be made at the vehicle rather than from a description, and we will not tell you a belt is fine when we have not seen it.
Seat belt assemblies are not something to repair improvisationally — not webbing, not retractors, not buckle mechanisms. Whether an assembly can be serviced at all is a question for a qualified technician; where it cannot, replacement is the route.
That depends on what you send us. A complete set of photographs with the position and configuration stated usually gets a substantive reply in one round. A vehicle name with no other detail usually takes three.
Where replacement enquiries usually start
Most replacement work resolves into one of these three categories once the scope is defined.
Start a replacement enquiry
Position, side, configuration, scope — and the five photographs. That is everything we need.