Seat Belt Care and General Maintenance
The useful list is short. The list of things that seem helpful but cause damage is considerably longer — and that asymmetry is the whole subject.
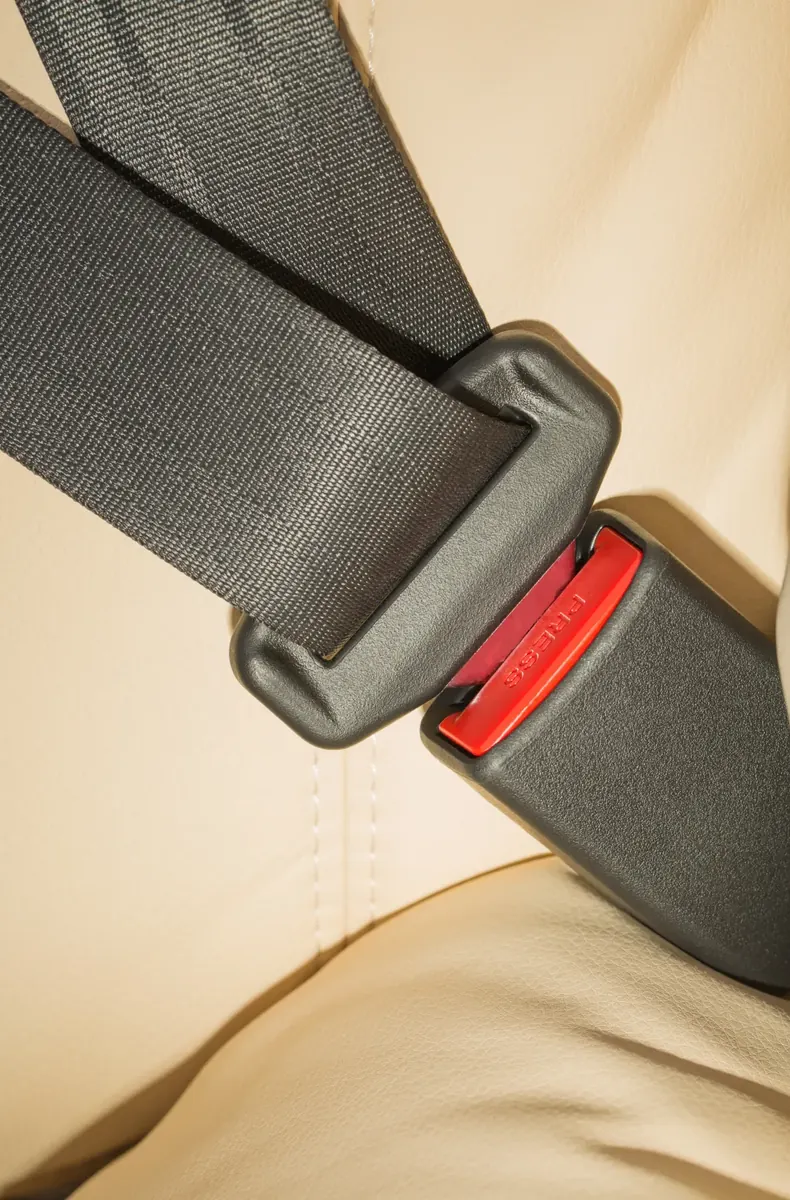
Why less is more
A seat belt is a load-bearing textile with a mechanism at one end. Textiles are damaged by chemicals, heat and abrasion; mechanisms are damaged by contamination and by being taken apart. Almost every bad outcome in seat belt maintenance comes from treating one of those two things too energetically.
So the aim is narrow and achievable: keep webbing clean and dry, keep buckle openings clear, and notice changes early. That is genuinely all of it.
If a maintenance step starts to feel like a repair, it has stopped being maintenance.
Cleaning webbing
Occasional light cleaning is worth doing, partly because a clean belt is an inspectable belt — marks and damage are far easier to see on webbing that is not carrying a season of dust.
- Draw the belt out slowly to full extension and hold it there, or clip it so it cannot retract
- Use a soft cloth with plain water, or water with a very small amount of mild soap
- Wipe along the length rather than scrubbing across the weave
- Go over it again with a cloth and plain water to lift any soap residue
- Leave it extended until it is completely dry
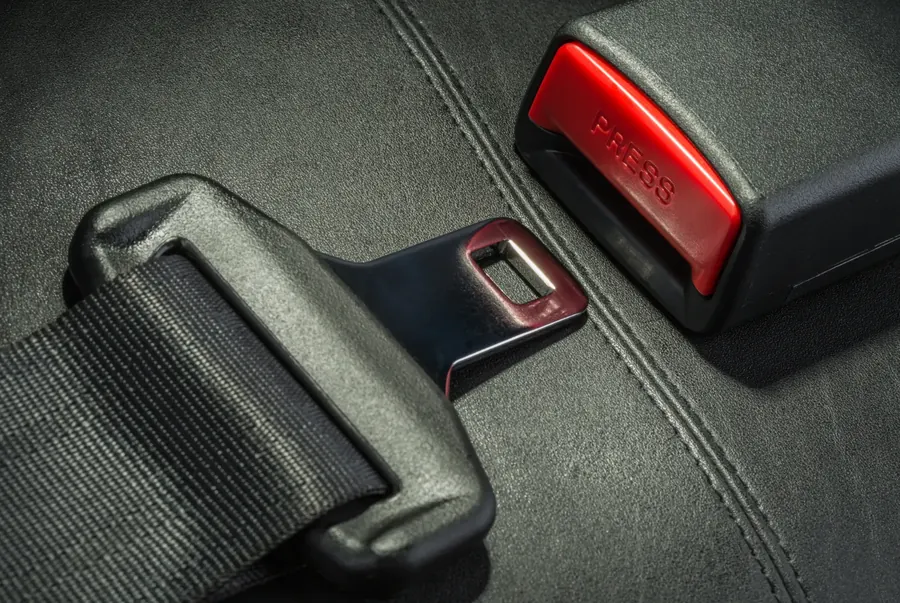
Drying matters more than cleaning
This is the step most often skipped and the one that causes the most trouble. Webbing that retracts while still damp goes onto a spool inside a housing where nothing dries. The result is a persistent smell first and, given time and warmth, mould.
The same applies after any water ingress — a spill, an open window in rain, a valeting session. Get the webbing out, get it flat, and let it dry fully before it goes back in. Never use heat to speed that up: hot air guns, heaters and hot surfaces all damage the fibres.
Buckles and debris
Buckles fail from what gets into them more often than from wear. Grit, crumbs, sand, coins and dried drink residue all collect in the throat, particularly at rear positions and in working vehicles.
- Clear the opening with a short blast of dry compressed air, or a soft dry brush
- Wipe the housing exterior with a barely damp cloth
- Check the release returns fully after being pressed
- Listen for a clean, positive engagement as the latch plate goes in
No lubricants, ever
Oil, silicone spray, penetrating fluid and grease all attract and retain the dust they were supposed to displace, and they can migrate onto webbing. A buckle that needs more than clearing needs a qualified automotive technician, not a can.
Retractors
There is no user maintenance on a retractor. The housing stays closed; the internals are under spring tension. What you can do is help it work — feed webbing back flat and untwisted, and let it dry before it retracts — and pay attention to how it behaves.
Slow, incomplete or noisy retraction is something to report, not to investigate. So is webbing that emerges twisted every time despite being fed back flat.
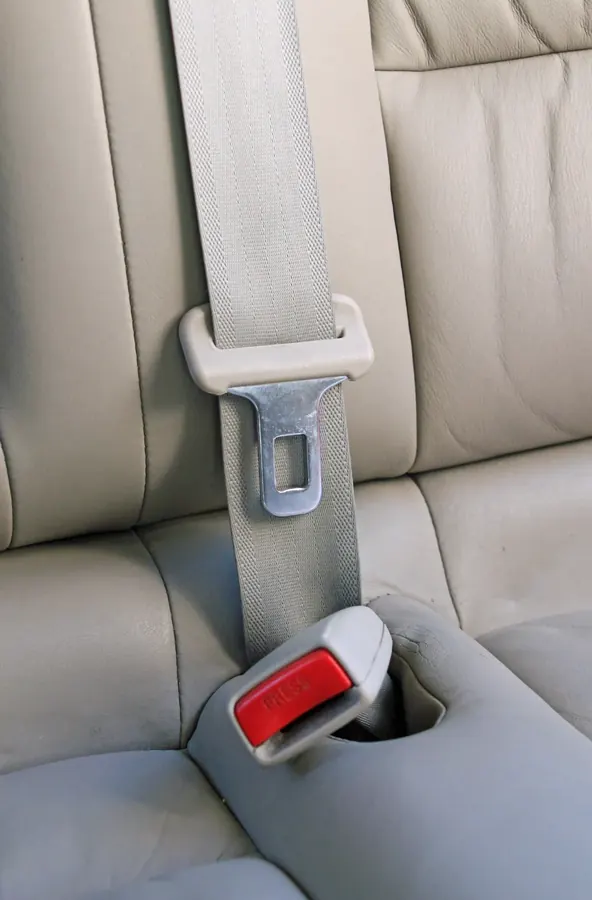
The avoid list
- Bleach, solvents, degreasers, spot removers, strong detergents
- Machine washing, soaking or steam cleaning an assembly
- Heat drying of any kind
- Dyeing, painting or treating webbing
- Sewing, trimming, splicing or knotting webbing
- Lubricating, dismantling or forcing a buckle
- Opening a retractor housing
- Clips, pads, sleeves or covers that change how webbing sits against the body
- Anything fitted into a buckle to silence a warning system
The last two are products rather than practices, and we do not supply either — the reasoning is set out on our accessories page.
A five-minute routine
Twice a year, and after anything unusual, spend five minutes per seating position:
- Draw the belt out fully and look along both faces of the webbing
- Engage and release the latch a few times, listening and feeling for a positive action
- Watch the belt return — fully, and without hesitation
- Clear any debris from the buckle opening
- Wipe the webbing if it needs it, and let it dry extended
If everything passes, you are finished. If anything does not, that is the cue to read Seat Belt Inspection and arrange for a qualified automotive technician to look at it. Care keeps a good assembly good; it does not fix one that is not.